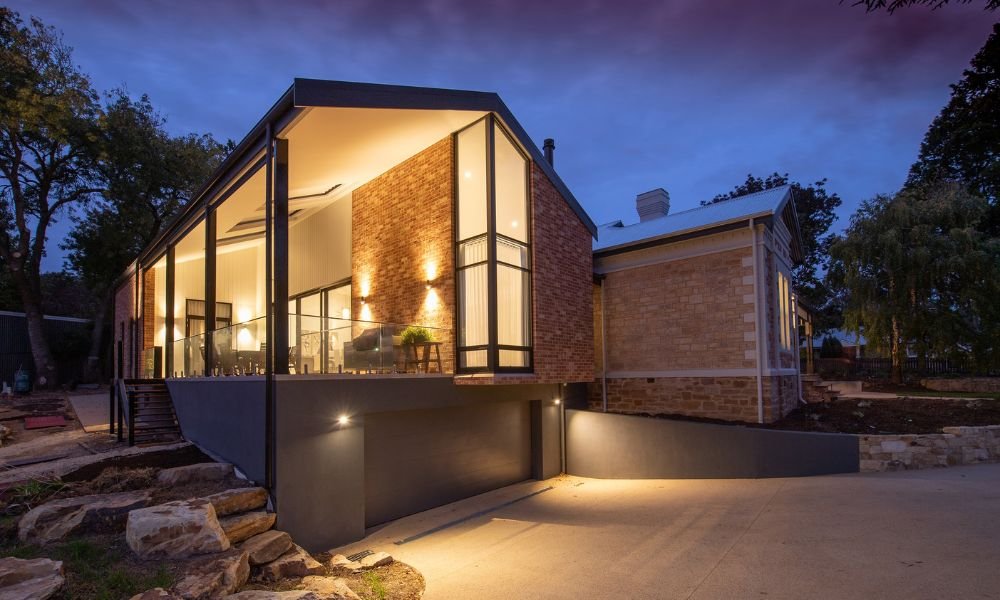
Outdoor lighting enhances the beauty and functionality of your space, making it more welcoming and secure. Proper illumination transforms ordinary areas into stunning features while ensuring safety during nighttime. Installing it yourself not only saves money but also gives you a sense of accomplishment. With the right tools, planning, and guidance, the process becomes straightforward and enjoyable. This comprehensive guide will help you illuminate your outdoor areas effectively, enhancing both aesthetics and usability. By following these steps, you will learn How to Install Outdoor Lighting and can create a well-lit environment that suits your needs and adds value to your property.
Why Outdoor Lighting Matters
Outdoor lighting is essential for safety, ambiance, and curb appeal. It deters intruders, highlights landscaping, and allows nighttime activities. Strategically placed lights can transform a dull yard into a lively space. Planning your outdoor lighting installation ensures optimal results and avoids common mistakes. Assessing your specific needs and goals will streamline the process, ensuring a flawless outcome. With the right approach, you can create a safe, attractive, and functional outdoor environment.
Tools and Materials Needed
Before starting, gather essential tools and materials. You’ll need:
- Outdoor-rated lights and fixtures
- Wire cutters and strippers
- Electrical tape and connectors
- Voltage tester
- Outdoor-rated wiring
- A drill and appropriate bits
Ensure all components meet local codes and regulations. Using the right tools saves time and ensures safety. If you’re unsure about specific items, consult a professional for guidance. Proper preparation minimizes delays and helps achieve a seamless lighting installation.
Planning Your Lighting Design

Effective planning is crucial for outdoor lighting success. Map your space to identify key areas needing light. Consider pathways, doorways, patios, and landscaping. Select the type of lights based on your goals: ambient, task, or accent. Prioritize energy-efficient options like LED fixtures to reduce costs. Decide on a power source, whether it’s low-voltage, solar, or traditional wiring. Detailed planning ensures balanced illumination and avoids overlighting. A clear design plan helps you visualize the result, ensuring each element complements your overall aesthetic.
Preparing the Installation Area
Preparation is key to a smooth installation process. Start by clearing the area of debris. Check for underground utilities before digging. Use a voltage tester to ensure existing wires are safe to handle. Mark the spots where fixtures will be placed and dig shallow trenches for wiring. Preparing the ground prevents unnecessary delays and ensures a clean setup. Follow the safety regulations to avoid any accidents during installation works. A well-prepared site makes the process efficient and stress-free.
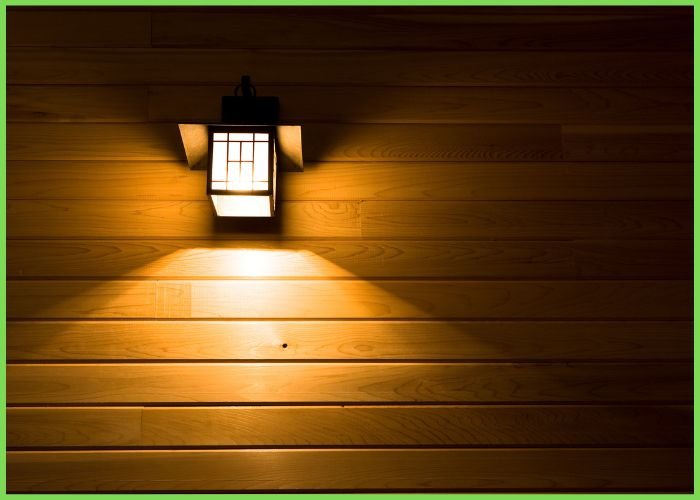
Installing Outdoor Lighting Fixtures
Begin installing fixtures by following the manufacturer’s instructions. Secure fixtures in designated spots using the proper tools. Connect wires carefully, matching colors and securing them with connectors. Secure connections with electrical tape to provide extra insulation and weatherproofing. Mount fixtures firmly to withstand outdoor conditions. Once installed, adjust angles for optimal illumination. Test each fixture to ensure it works correctly before proceeding. Properly installed fixtures not only last longer but also enhance safety and efficiency.
Wiring and Power Connection
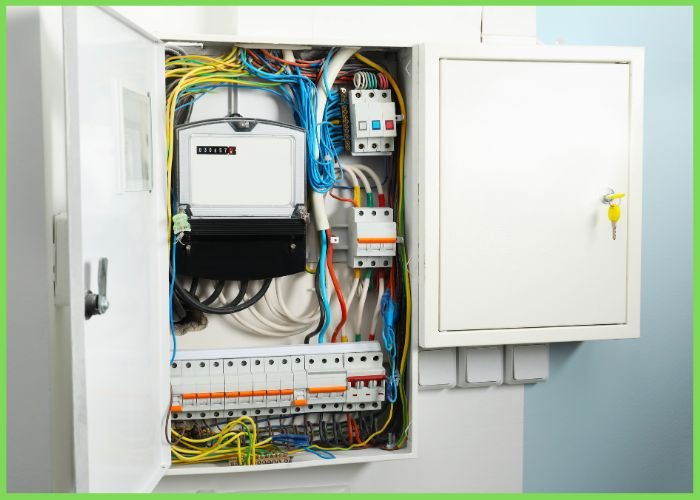
For wired systems, connect cables to a power source. Run wires through trenches and connect them securely to each fixture. Use outdoor-rated wires to withstand weather conditions. If using low-voltage lighting, connect cables to a transformer. Solar-powered lights skip wiring altogether, making installation easier. Ensure all connections are tight and protected to prevent electrical issues. Following wiring guidelines ensures a reliable and durable lighting system that enhances your space.
Testing and Adjustments
After installation, test all lights to confirm they function correctly. Make adjustments to angles and brightness for the desired effect. Ensure lights are positioned to avoid glare while maximizing coverage. Replace any faulty components immediately. Testing prevents future issues and ensures your lighting meets expectations. Fine-tuning your setup enhances the overall appearance and functionality of your outdoor space.
Maintenance Tips for Longevity
Regular maintenance is key to extending the life of your outdoor lighting. Periodically inspect connections to confirm they are securely in place. Promptly replace burned-out bulbs to ensure consistent and reliable lighting. Inspect wiring for signs of wear or damage, addressing any issues immediately to prevent hazards. Clean fixtures regularly to remove dirt and debris, which can affect performance. Routine upkeep not only prevents costly repairs but also keeps your lighting system in top condition, adding beauty and security to your outdoor space for years to come.
Conclusion
Installing outdoor lighting transforms your space into a vibrant, secure area. With careful planning, the right tools, and attention to detail, the process is straightforward. Enjoy the enhanced beauty and functionality of your well-lit outdoor environment while ensuring safety and efficiency.