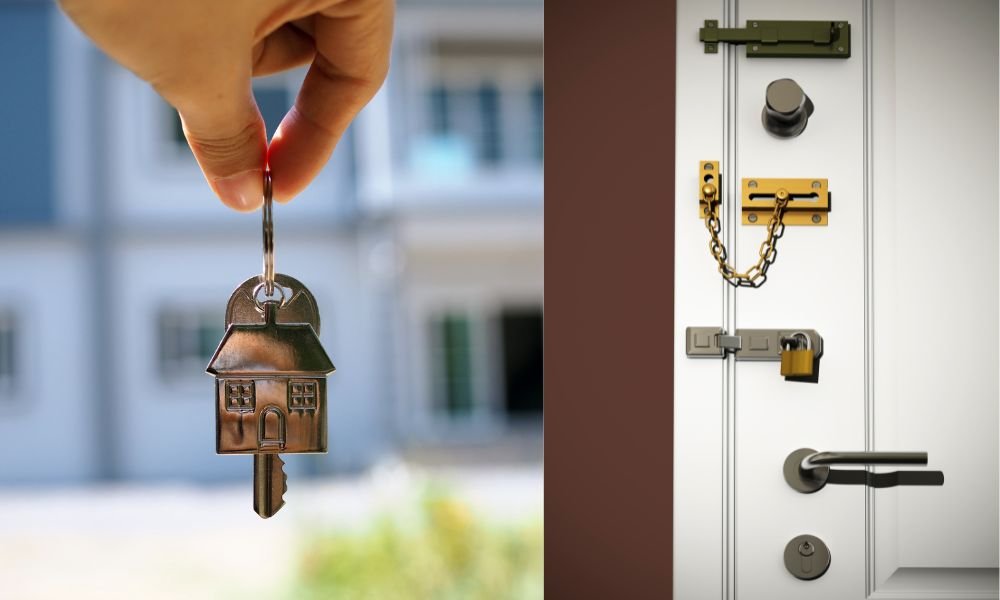
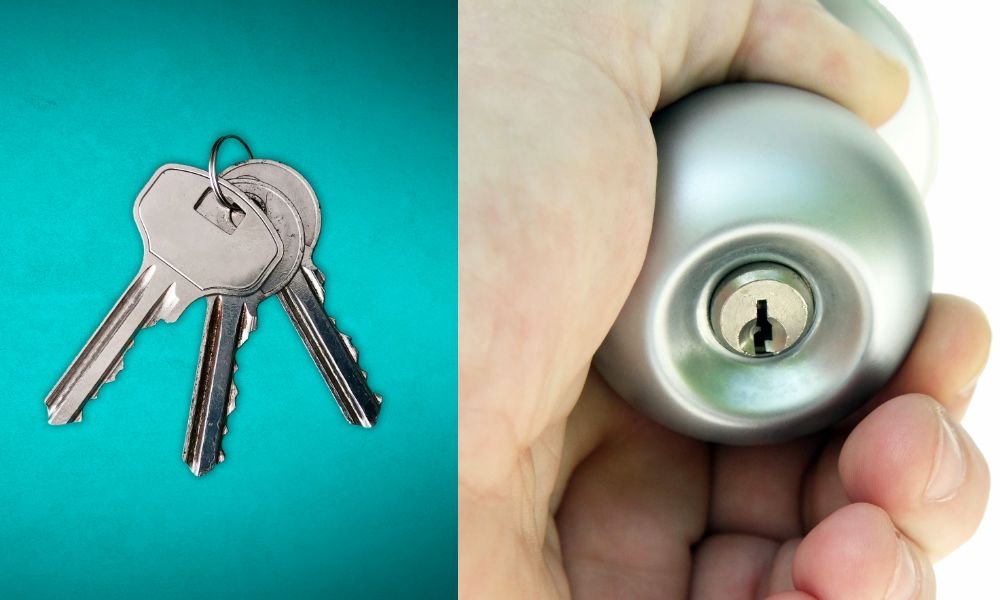
Installing a door knob might seem daunting at first, especially if you’re not experienced with DIY projects. However, with the right tools, materials, and a bit of patience, you can accomplish this task and enhance both the security and appearance of your home. This guide will walk you through the entire process, step by step of how to install a door knob.
Tools and Materials Needed
Before you begin, gather all the necessary tools and materials. Having everything ready will make the process smoother and more efficient. Here’s what you’ll need:
- Necessary Kit: Ensure it includes all the necessary components such as knobs, latch, strike plate, and screws.
- Screwdriver: Depending on the screws in your kit, you may need a Phillips or flathead screwdriver.
- Drill: For drilling holes for the hook and screws.
- Drill Bits: Typically a 1-inch spade bit and a 2 1/8-inch hole saw bit.
- Tape Measure: To measure precise distances.
- Pencil: For marking measurements.
- Chisel: Useful for creating a recess for the latch plate.
- Hammer: For use with the chisel.
- Masking Tape: Optional, but can help prevent the wood from splintering when drilling.
Remove the Old Door Knob

If you’re replacing an existing one, start by removing it. This usually involves unscrewing the screws on the interior knob and pulling the knobs apart. Once the knobs are removed, take out the hook mechanism from the edge of the door. This step is crucial for preparing the entrance for the new knob.
Prepare the Door
If your entrance doesn’t have existing holes, you’ll need to measure and mark where to drill. Most door knobs are installed 2 3/8 or 2 3/4 inches from the edge of the entrance to the center of the hole (backset). Use your tape measure and pencil to mark the backset on the edge and face of the entrance. Accurate marking is essential for a smooth installation process.
Drill the Necessary Holes
Once your marks are in place, you can begin drilling. Using a 2 1/8-inch hole saw bit, drill through the face of the entrance at your mark. It’s often best to drill halfway from one side, then complete the hole from the other side to prevent splintering. Next, use a 1-inch spade bit to drill into the edge of the entrance where the latch will be inserted. Ensure this hole intersects with the face hole you just drilled.
Install the Latch Mechanism
With the holes drilled, it’s time to install the mechanism. Insert the latch into the hole on the edge of the door, ensuring that the beveled side faces the door jamb. Trace around the latch plate with a pencil to mark its position. Next, use a chisel and hammer to create a recess so the latch plate can sit flush with the entrance edge. Once the recess is ready, insert the mechanism and secure it with screws.
Attach the Door Knobs
Now, you can attach the door knobs. Start by inserting the exterior knob, which includes the spindle, through the latch mechanism from the outside of the entrance. Then, align the interior knob with the spindle and secure it with the provided screws. Tighten the screws adequately, but avoid over-tightening, as this could strip the screws or damage the knob. Test the knob to ensure the latch operates smoothly.
Install the Strike Plate
The strike plate is installed on the door jamb and receives the latch. Close the door to identify where the latch hits the jamb and mark this spot. Trace the strike plate’s outline and use a chisel to create a recess in the jamb, allowing the strike plate to sit flush. Secure the strike plate with screws, ensuring it aligns correctly with the latch.
Make Final Adjustments
After installing the knob and strike plate, check the alignment. Close the door to see if the latch fits smoothly into the strike plate. If there are any issues with alignment, you may need to adjust the position of the strike plate slightly by loosening the screws and moving it. Ensure everything operates smoothly and make any necessary fine-tuning.
Add Decorative Elements
If the above one is securely installed and functioning properly, you might want to add some decorative elements to enhance the overall appearance of your entrance. This could include decorative plates, escutcheons, or matching hardware to give your entrance a polished and cohesive look. These elements can add a touch of style and personality to your doors.
Troubleshooting Common Issues
If you encounter problems during or after installation, there are some common solutions. A loose knob often results from improperly tightened screws. Ensure all screws are secure. If the latch sticks, check for alignment issues or consider lubricating the latch. Misalignment of the strike plate can often be fixed by adjusting its position. Taking the time to troubleshoot will ensure your knob functions perfectly.
Regular Maintenance

Maintaining your door knob is crucial for its longevity and functionality. Regularly check for any loose screws and tighten them as needed. Clean the knobs and latch mechanism periodically to ensure smooth operation. Lubricate the latch with graphite or a similar lubricant to prevent sticking. Proper maintenance will keep your door knobs looking and working like new for years to come.
Conclusion
Installing a knob is a valuable skill that can save you money and provide a sense of accomplishment. By following this detailed guide, you can install a door knob correctly and efficiently, enhancing the security and functionality of your doors. Remember to take your time with each step, double-check measurements, and make any necessary adjustments. With patience and attention to detail, you can successfully complete this DIY project and enjoy the benefits of a properly installed door knob.


