Changing a door knob may appear challenging, but with the correct tools and patience, it’s quite simple. Whether you are updating your home’s hardware for a fresh look or replacing a damaged knob, this guide will help you through each step. Follow these instructions to change a door knob efficiently. From gathering the necessary tools to installing the new hardware, you’ll find the process straightforward and manageable. Let’s explore the detailed steps about how to change a door knob, to ensure you complete the task successfully and enhance your home’s functionality and appearance.
Tools and Materials Needed
Before starting, gather the necessary tools and materials. You will need a new set that fits your door’s thickness and matches your decor, a Phillips-head screwdriver, a measuring tape to check dimensions, and optionally a drill if you need to enlarge existing holes or create new ones. Having everything on hand will make the process smoother and more efficient, allowing you to focus on the task without interruptions.
Remove the Old Door Knob

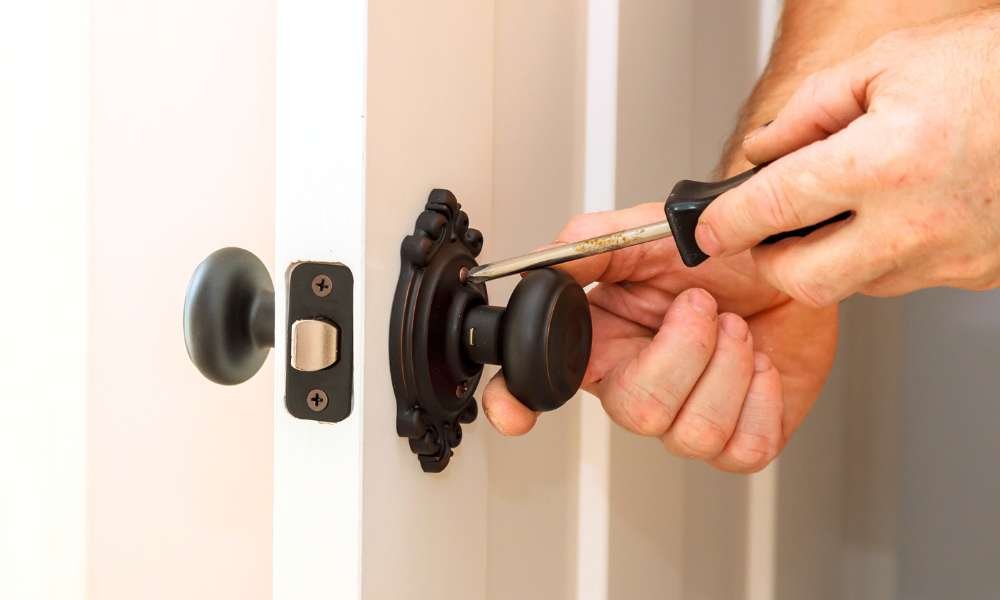
First, locate the screws on the faceplate of the old one. Use your screwdriver to remove these screws carefully. Once the screws are removed, gently pull the knobs apart from both sides of the door. This will expose the latch mechanism inside the entrance. Next, unscrew the latch mechanism from the edge of the entrance and pull it out. This step prepares the entrance for the new hardware and ensures that there are no obstacles in the way of the new installation.
Prepare the Door
Ensure the existing holes align with the new ones’ requirements. Most knobs fit standard-sized holes, but if adjustments are needed, use a drill to make the holes larger or reposition them. Clear any debris or dust around the holes to ensure a better fit and function for the new hardware. This preparation step is crucial for the smooth operation of the new one and helps prevent any issues that could arise from misaligned or obstructed holes.
Install the New Latch
Slide the new latch mechanism into the edge of the door, ensuring the angled side of the latch faces the direction the door closes. This orientation is important for the latch to function correctly. Use the screws provided with your new one to secure the latch in place, ensuring it is firmly attached and aligned correctly. A properly installed latch will make the door easier to close and lock, enhancing both security and convenience.
Attach the New Knob
Position the knobs on either side of the door, making sure they fit snugly around the spindle of the latch. This step might require some minor adjustments to ensure a perfect fit. Use your screwdriver to insert and tighten the screws. Ensure the knobs are aligned correctly before fully tightening to avoid any operational issues. Proper alignment is key to the smooth operation of this, ensuring it turns easily and engages the latch without difficulty.
Test the New Door Knob
Turn the knob to ensure it operates the latch smoothly. Check that the latch is secured properly in the strike plate on the door frame. This is an essential step to ensure that the knob and latch are functioning correctly together. If the latch doesn’t catch or the knob feels loose, make minor adjustments to the screws until everything functions correctly. Testing this tb ensures that it will provide reliable performance and security.
Troubleshooting Tips
If the holes don’t align, use a drill to adjust the positioning, ensuring the new holes match the dimensions required by your new knob. Tighten all screws securely if the knob feels loose, as loose screws can lead to a wobbly and unreliable door knob. If the latch doesn’t engage correctly, verify it’s installed with the angled side facing the correct direction. Ensuring all components are correctly installed will help avoid common issues and ensure smooth operation.
Enhancing Door Security
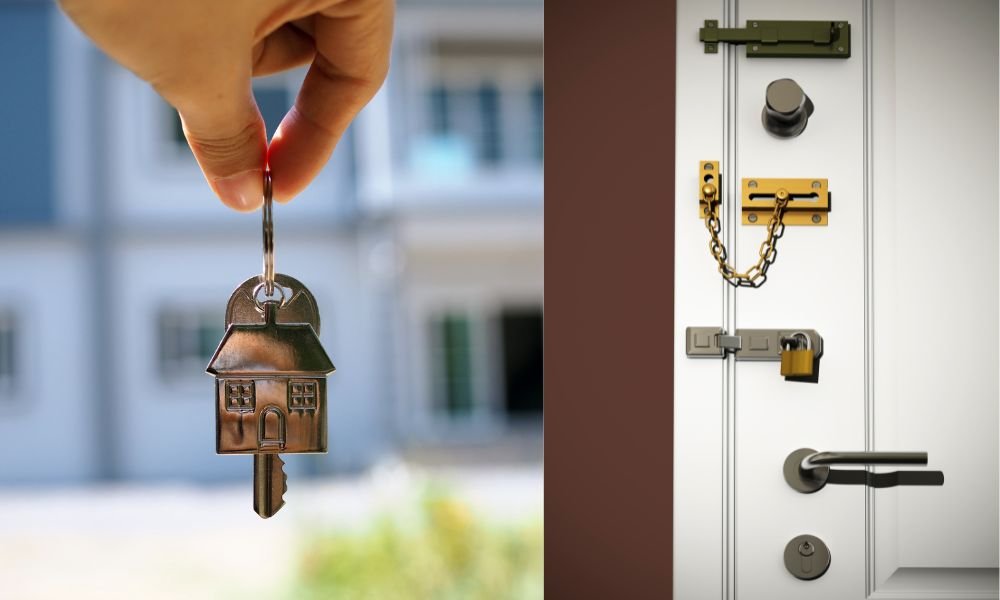
Consider enhancing your door’s security while replacing it with a new one. Install a deadbolt for added security, which requires additional drilling but significantly improves safety. Reinforce the strike plate with longer screws, making it harder for intruders to force the door open. Upgrading to a smart lock for keyless entry and remote access capabilities offers modern convenience and security. These enhancements can provide peace of mind and improve the overall security of your home.
Maintenance Tips
Regular maintenance ensures your instrument remains functional and aesthetically pleasing. Wipe down the knob and latch regularly with a damp cloth to remove dirt and grime, keeping it looking new and operating smoothly. Apply a lubricant like WD-40 to the latch mechanism periodically to ensure smooth operation and prevent sticking. Check and tighten screws occasionally to prevent the knob from becoming loose, ensuring long-term reliability and performance.
Choosing the Right Door Knob

Select a knob that matches your home’s decor. Options range from traditional round knobs to modern lever handles, allowing you to choose a style that fits your aesthetic preferences. Decide on the function – privacy knobs for bathrooms and bedrooms, passage knobs for hallways, and dummy knobs for decorative purposes. Choose a finish that complements other hardware in your home, such as brushed nickel, chrome, or antique brass. The right choice will enhance both the look and functionality of your doors.
Final Thoughts
Changing a door knob is a manageable DIY project that can significantly improve your home’s functionality and aesthetic appeal. By following this step-by-step guide, you’ll be able to replace your one with ease and confidence. Remember, the key to a successful installation is patience and attention to detail. Whether you’re enhancing security or updating your home’s look, a new one can make a noticeable difference. By keeping these steps in mind and taking the time to do it right, you can ensure your new one will function smoothly and look great for years to come. Now, you have the knowledge to tackle this project and enjoy the satisfaction of a job well done.


