How to change battery on keypad door lock? A step by step complete guides
Keypad door locks are an integral part of modern security systems, offering convenience and enhanced safety for homes and businesses alike. However, like any electronic device, they rely on power to function properly. When the cell runs low, knowing how to replace it is crucial to maintain the security of your property. In this guide, we’ll explore “How to change battery on keypad door lock?” through the step-by-step process of changing and ensuring that your security remains intact.
Preparation:
Before you begin, gather all the necessary tools and materials. You’ll typically need a screwdriver (Phillips or flathead), a fresh set of batteries (refer to the lock’s manual for the correct type), and possibly a step stool if your lock is positioned high.
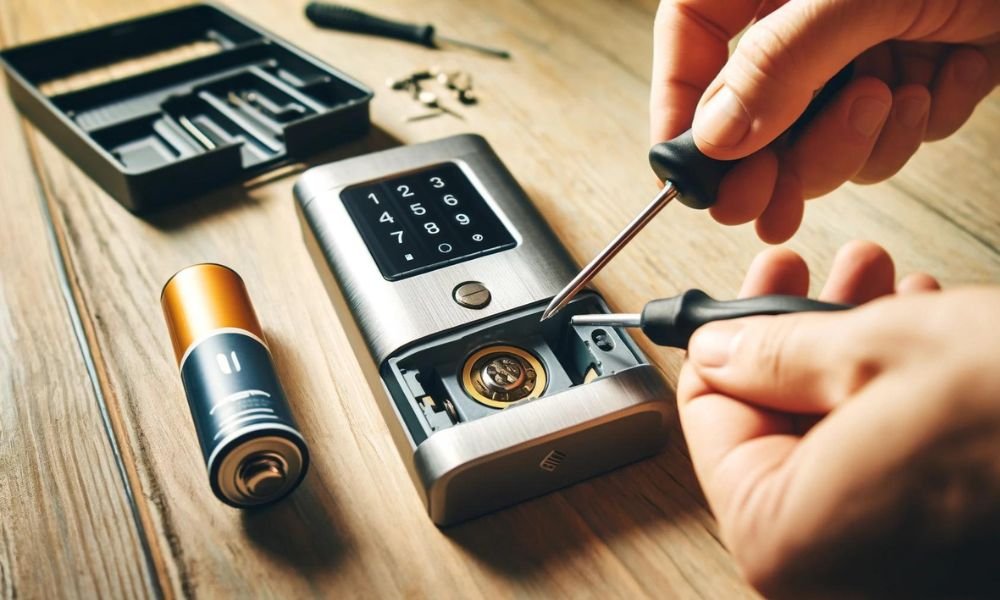
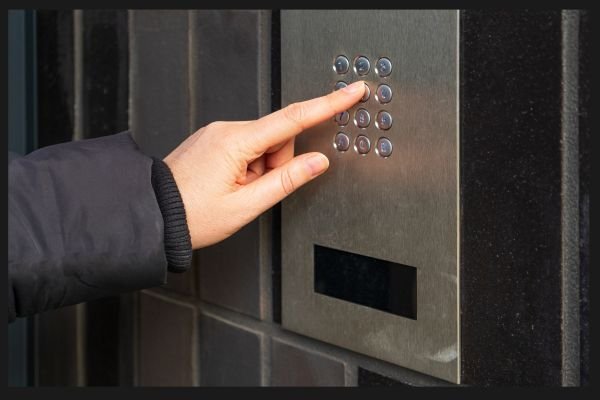
Locate the Battery Compartment:
The first step is to find the cell compartment on your keypad door lock. This compartment is usually located either beneath the keypad or on the interior side of the door. If you’re unsure, consult the lock’s manual for guidance.
Access the cell Compartment:
Use the appropriate screwdriver to remove any screws that are securing the battery compartment cover. Keep the screws in a safe place to avoid misplacing them.
Remove the Old Batteries:
Once the cover is removed, carefully take out the old one from the compartment. Pay attention to their orientation and how they are placed, as this will guide you when inserting the new ones.
Dispose of Old Batteries Responsibly:
It’s important to dispose of old one properly to minimize environmental impact. Check local regulations for the correct disposal method, as batteries can be harmful if not handled correctly.
Insert New Batteries:
Take the fresh set and insert them into the compartment, ensuring that you observe the correct polarity (+ and – signs). Make sure the batteries are snugly placed and make proper contact with the terminals.
Replace the Battery Compartment Cover:
Once the new batteries are in place, reattach the battery compartment cover securely using the screws you removed earlier. Tighten the screws firmly, but be careful not to over-tighten them, as this could damage the lock.
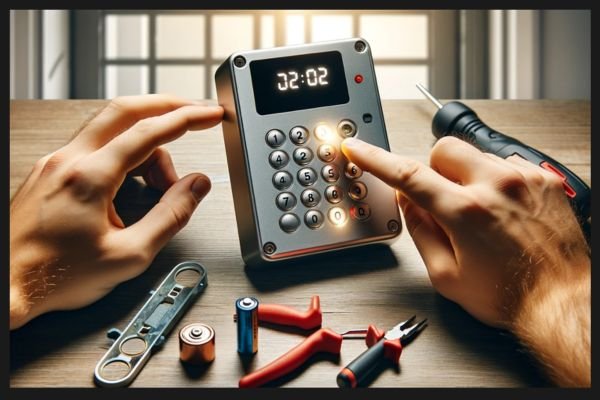
Test the Lock:
After replacing the batteries and securing the cover, it’s essential to test the keypad to ensure it functions correctly. Enter your access code or use the lock’s manual override function to confirm that it operates smoothly.
Monitor Battery Life:
Keep an eye on the battery life of your keypad. Most locks will provide low warnings through audible alerts, LED indicators, or notifications via a connected app if applicable. Replace the batteries promptly when these warnings occur to avoid lockouts.
Regular Maintenance:
Incorporate checking and replacing batteries into your home maintenance routine. Depending on usage and battery type, you may need to replace them every six months to two years. Consistent upkeep ensures your keypad door lock remains reliable.
By following these straightforward steps, you can effectively change the battery on your keypad door lock and maintain the security of your property. Regular maintenance is essential for ensuring the long-term reliability and functionality of your lock. Remember to consult the lock’s manual for specific instructions and safety precautions.
In conclusion, knowing how to change the battery on your keypad is a fundamental aspect of home security maintenance. With this guide, you’ll have the confidence and knowledge to keep your lock powered and operational, providing peace of mind for you and your loved ones. Stay proactive in your home security efforts, and your keypad will continue to safeguard your property effectively.