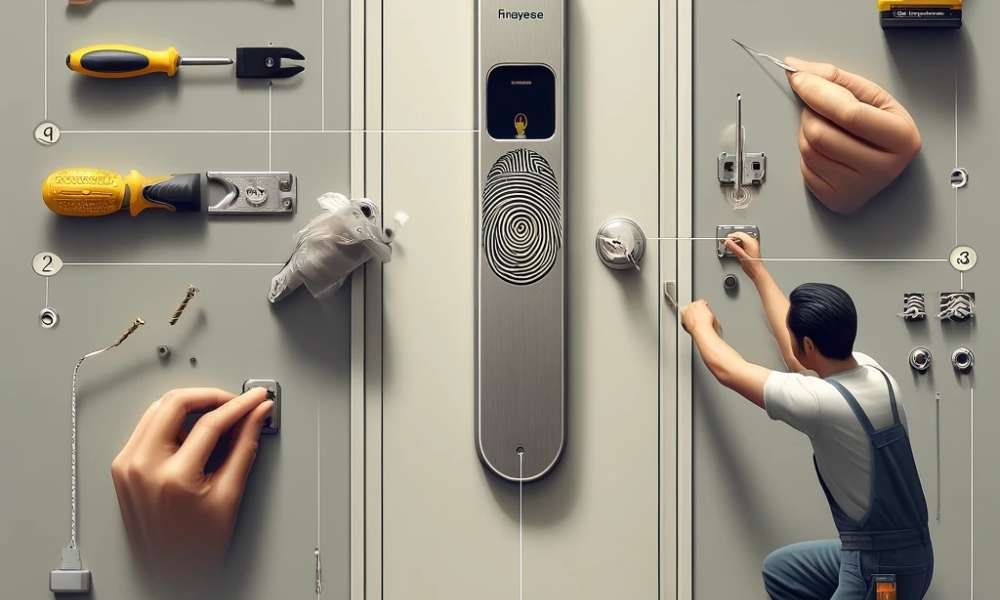
Fingerprint door locks offer enhanced security and convenience, eliminating the need for traditional keys. Installing a fingerprint door lock might seem intimidating, but with the right tools and instructions, it can be a straightforward process. This guide will walk you through each step of How to Install a Fingerprint Door Lock? and to ensure a smooth installation.
Why Choose a Fingerprint Door Lock?
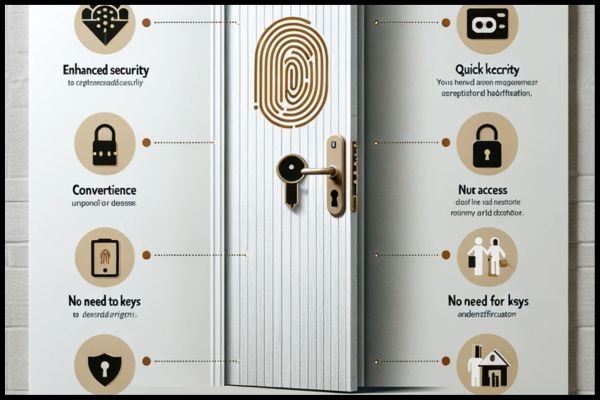
Fingerprint door locks provide several benefits:
- Enhanced Security: Biometric recognition ensures that only authorized individuals can access your property. Fingerprint door locks use advanced biometric technology to scan and recognize fingerprints, making it nearly impossible for unauthorized persons to gain access. This added layer of security surpasses traditional key locks, which can be picked or duplicated.
- Convenience: No more worrying about lost keys or unauthorized key duplication. With a fingerprint lock, you don’t need to carry a physical key. You can simply use your fingerprint to unlock the door. This convenience is particularly useful for families, as there’s no need to distribute multiple keys or worry about losing them.
- Easy Management: Adding or removing users is simple and quick. These locks allow you to easily manage access for multiple users. You can add new fingerprints to the system when needed and remove them just as quickly. This feature is beneficial for households, offices, or rental properties where user access needs to be frequently updated.
- Aesthetic Appeal: Modern designs complement various door styles and home decors. Many locks are designed with sleek, contemporary aesthetics that enhance the look of your door. These locks come in various finishes and styles, allowing you to choose one that matches your home’s decor while providing high-tech security.
Tools and Materials Needed

Before starting, gather the necessary tools and materials:
- Fingerprint Door Lock Kit: This kit typically includes the exterior and interior lock components, the latch, screws, and sometimes a template for drilling.
- Screwdrivers: Both Phillips and flat-head screwdrivers are needed for removing existing hardware and installing the new lock.
- Drill and Drill Bits: A drill with the appropriate bits (usually a 2 1/8 inch for the main hole and 1 inch for the latch hole) is essential for creating the necessary holes in your door.
- Tape Measure: Accurate measurements ensure that your new lock fits perfectly.
- Chisel and Hammer: These tools are used to create a recess for the latch and strike plates.
- Pencil and Level: A pencil is used for marking drill points, and a level ensures that your lock is installed straight.
- Safety Gear: Safety glasses and gloves protect you from debris and sharp edges during installation.
Step-by-Step Installation Process
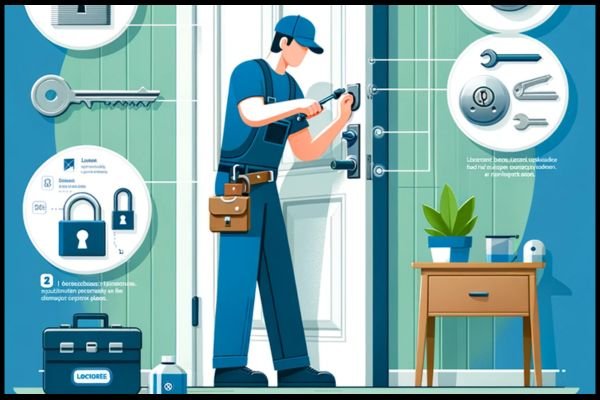
1. Prepare the Door
A. Check Compatibility: Ensure this is compatible with the fingerprint lock. Most locks are designed for standard doors with a thickness of 1 3/8 to 2 inches. Measure your door’s thickness to confirm it falls within this range. Additionally, ensure that your door’s material is suitable for drilling and securing the lock components.
B. Remove Existing Hardware: If there’s an existing lock, remove it by unscrewing the screws on the interior and exterior parts. Carefully pull the old lock out of the door and set it aside. This step clears the way for installing your new fingerprint lock.
C. Clean the Door: Clean any debris or residue from the surface where the new lock will be installed. Use a damp cloth to wipe away dust, dirt, or old adhesive. A clean surface ensures better adhesion and smoother installation of the new lock components.
2. Mark the Drill Points
A. Template Alignment: Most fingerprint lock kits come with a paper template. Align this template on your door at the desired height (typically between 34 to 48 inches from the ground). The template guides where to drill holes for the lock components. Ensure the template is straight and positioned correctly.
B. Mark the Holes: Use a pencil to mark the spots where you’ll need to drill. This usually includes holes for the main lock mechanism and the latch. Double-check the marks to ensure they are accurate and level. Precise marking prevents errors during drilling.
3. Drill the Holes
A. Drill the Main Hole: Use an appropriate drill bit (usually 2 1/8 inches), and drill the main hole through the door where the lock mechanism will be placed. Ensure the drill is level to avoid uneven holes. Drilling a clean, straight hole is crucial for the lock to fit correctly and function smoothly.
B. Drill the Latch Hole: Use a 1-inch drill bit to drill the hole for the latch on the edge of the door. This hole allows the latch to extend and retract when the door is locked or unlocked. Make sure the hole is centered and properly aligned with the main hole.
C. Chisel the Recess: Chisel out a recess for the latch plate on the door edge to ensure it sits flush with the door surface. Carefully use the chisel and hammer to create a shallow, even recess. This step ensures that the latch plate fits securely and doesn’t interfere with the door’s operation.
4. Install the Latch
A. Insert the Latch: Insert the latch into the hole on the door edge and secure it with screws provided in the kit. Ensure the latch plate sits flush with the door surface. The latch should move freely when the door handle is operated. If it’s tight or misaligned, adjust it before securing the screws.
B. Test the Latch Operation: Before proceeding, test the latch to ensure it moves smoothly and aligns correctly with the strike plate hole. Close the door and observe if the latch fits into the strike plate without resistance. Adjust as needed to ensure proper alignment and operation.
5. Install the Fingerprint Lock
A. Install the Exterior Component: Place the exterior part of the fingerprint lock (the part with the fingerprint scanner) through the main hole. Ensure the wires pass through the door. Hold the exterior component steady and align it with the marked drill points.
B. Install the Interior Component: Align the interior component with the exterior part, connecting any necessary wires according to the manufacturer’s instructions. Secure both parts with the provided screws. Make sure all connections are tight and the components are aligned properly.
C. Attach the Battery: Remember, most fingerprint locks are battery-powered. Install the batteries in the designated compartment, usually on the interior component. Check the manufacturer’s instructions for the correct battery type and installation method. Once installed, ensure the battery cover is securely in place.
6. Install the Strike Plate
A. Mark the Strike Plate Location: Close the door and mark where the latch meets the door frame. This is where you’ll install the strike plate. Accurate marking ensures the strike plate aligns perfectly with the latch.
B. Drill Holes for the Strike Plate: Use a drill to create holes for the strike plate screws on the door frame. Match the holes to the marks you made earlier. Ensure the holes are straight and deep enough to securely hold the screws.
C. Chisel the Recess: Chisel out a recess for the strike plate to sit flush with the door frame. This recess should match the strike plate’s shape and size. A flush fit ensures smooth latch operation and a secure lock.
D. Attach the Strike Plate: Secure the strike plate with screws. Ensure it aligns correctly with the latch. Test the door to confirm that the latch engages smoothly with the strike plate. Adjust if necessary to achieve a perfect fit.
7. Test the Lock
A. Power On the Lock: If your lock has a power button, press it to turn on the device. The lock should activate and be ready for setup.
B. Enroll Fingerprints: Follow the manufacturer’s instructions to enroll fingerprints. This usually involves pressing the finger on the scanner multiple times until the system recognizes it. Register fingerprints for all authorized users, ensuring each print is correctly scanned and saved.
C. Test Operation: Test the lock by scanning your fingerprint and ensuring the latch operates smoothly. Also, test any other features like keypads or backup keys. Confirm that the lock functions as expected before considering the installation complete.
Troubleshooting Common Issues
A. Latch Misalignment: If the latch doesn’t align with the strike plate, adjust the strike plate’s position. Ensure the door isn’t sagging, which can cause misalignment. Check the door hinges and frame for any irregularities that might affect alignment.
B. Fingerprint Recognition Problems: Ensure your fingers are clean and dry. Re-enroll fingerprints if the scanner has trouble recognizing them. Dirt or moisture can interfere with the scanner’s ability to read fingerprints accurately.
C. Battery Issues: If the lock doesn’t power on, check the batteries. Replace batteries as needed and ensure the contacts are clean and free from corrosion.
D. Loose Components: Periodically check that all screws are tight and the components are secure. Regular maintenance prevents parts from becoming loose over time, ensuring the lock remains functional and secure.
Maintenance Tips
A. Regular Cleaning: Keep the fingerprint scanner clean by wiping it with a soft, damp cloth. Avoid using harsh chemicals. Clean the scanner regularly to maintain its sensitivity and accuracy.
B. Battery Replacement: Replace the batteries as recommended by the manufacturer. Most locks will provide a low battery warning. Promptly replacing batteries ensures continuous operation and prevents lockouts.
C. Software Updates: If your lock has software, keep it updated to ensure optimal performance and security. Check the manufacturer’s website for updates and follow the instructions for installing them.
Conclusion
Installing a fingerprint door lock enhances your home’s security and provides convenient access control. By following this step-by-step guide, you can install your fingerprint lock with confidence. Remember to consult the manufacturer’s instructions for specific details related to your lock model. Regular maintenance

