When it comes to home security and maintenance, understanding how to remove a front door lock is a valuable skill for any homeowner or DIY enthusiast. Whether you’re replacing a worn-out lock, upgrading to a more secure option, or simply performing routine maintenance, knowing the proper steps can save you time and money. In this comprehensive guide, we’ll walk you through the process of how to remove a front door lock, step by step.
Gather Your Tools
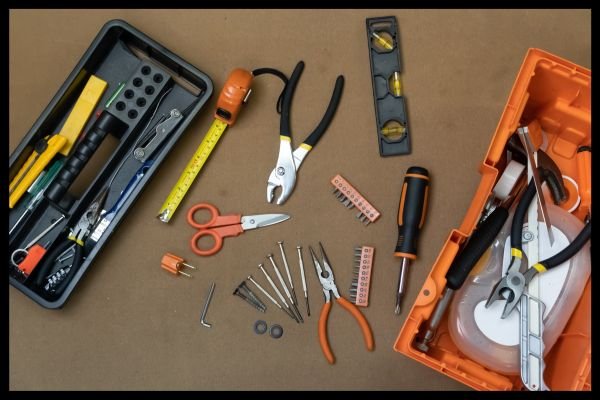
Before you begin, it’s essential to gather all the necessary tools and materials. Here’s what you’ll need:
- Phillips screwdriver
- Flathead screwdriver
- Allen wrench (if applicable)
- Lubricating spray (optional)
- Replacement lock (if necessary)
Having these tools on hand will ensure a smooth and efficient removal process.
Identify the Type of Lock
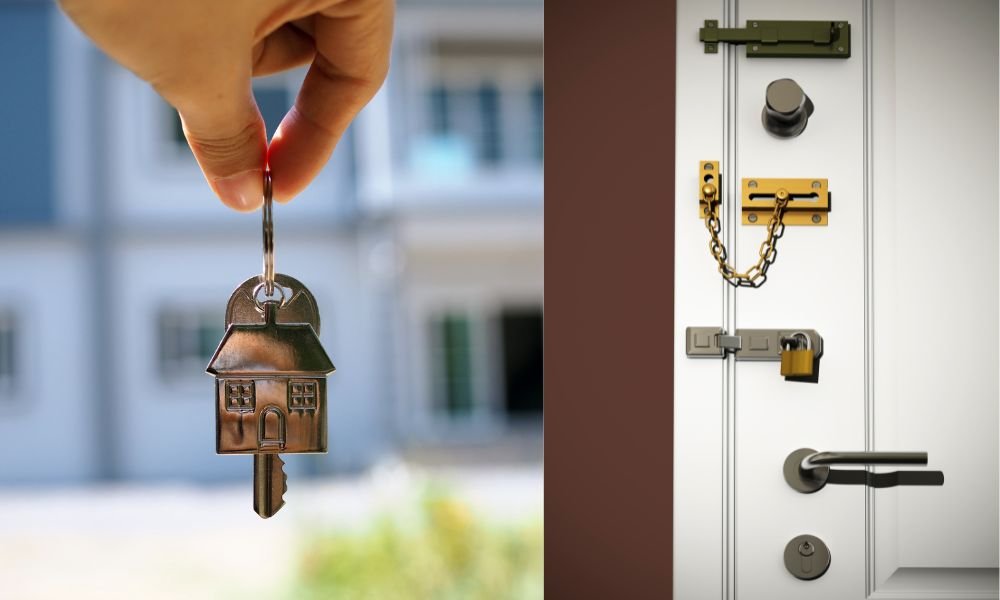
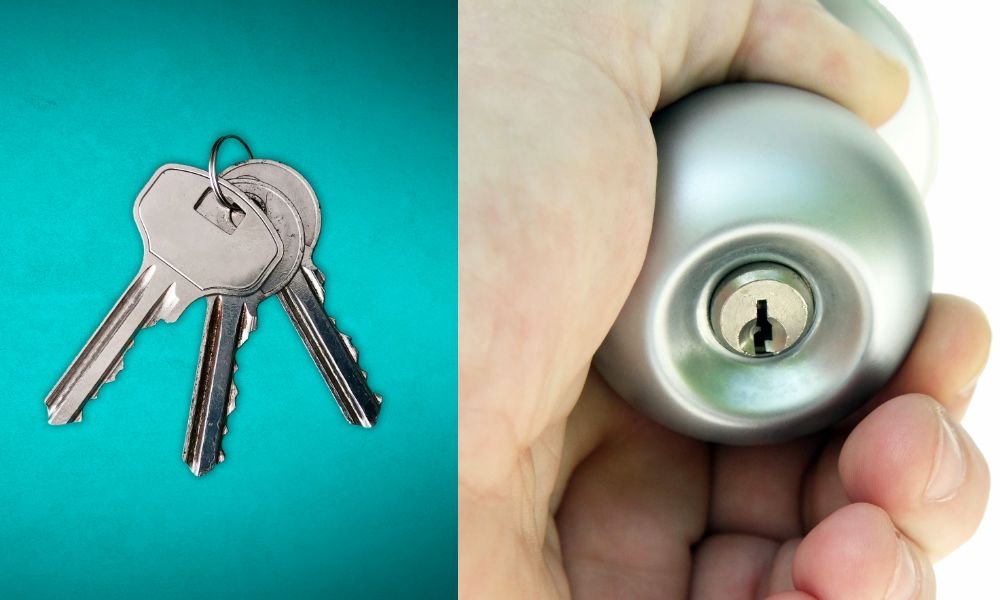
Front door locks come in various types, including knob locks, deadbolts, and combination locks. Before you start removing this, take a moment to identify its type. This will help you determine the specific removal procedure required for your home security.
Prepare the Door
Next, prepare this need to be ensure that, it is fully closed and locked. This will prevent any accidental openings or movements during the removal process, ensuring your safety and the integrity of the door.
Remove the Exterior Trim

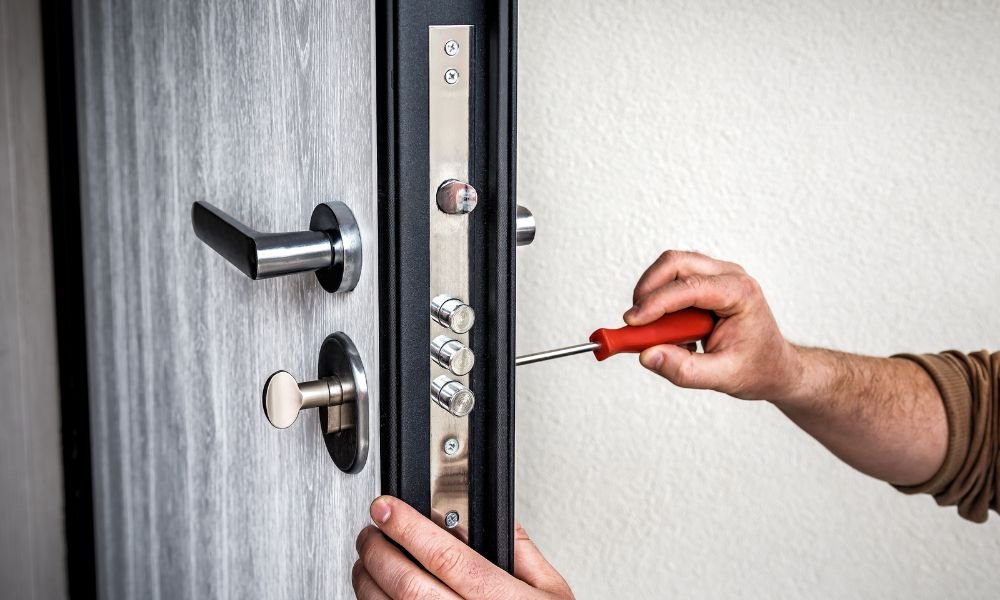
Begin by locating the screws on the exterior trim of the lock. These are typically located on the faceplate or around the perimeter of the security mechanism. Use a Phillips screwdriver to remove the screws and set them aside for reassembly later.
Remove the Interior Trim
Once the exterior trim is removed, locate and remove the screws on the interior trim of the lock. Again, these screws are usually found on the faceplate or surrounding the security mechanism. Use a Phillips screwdriver to loosen and remove the screws, being careful not to damage the surrounding area.
Disconnect the Mechanism
With both the exterior and interior trims removed, you can now access the security mechanism itself. Depending on the type of lock, you may need to use a flathead screwdriver or an Allen wrench to disconnect the lock. Follow the manufacturer’s instructions carefully to avoid causing any damage.
Remove the Retaining Screws
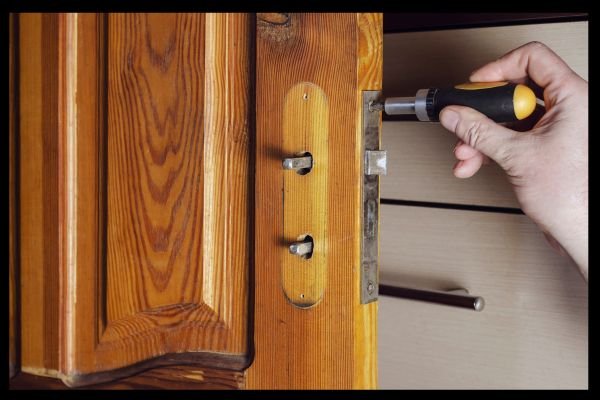
Once the mechanism is disconnected, locate and remove the retaining screws that hold it in place on the door. These screws are typically located on the edge of the door and may require a Phillips screwdriver or an Allen wrench for removal. Carefully unscrew and set aside the retaining screws.
Extract the Lock Cylinder
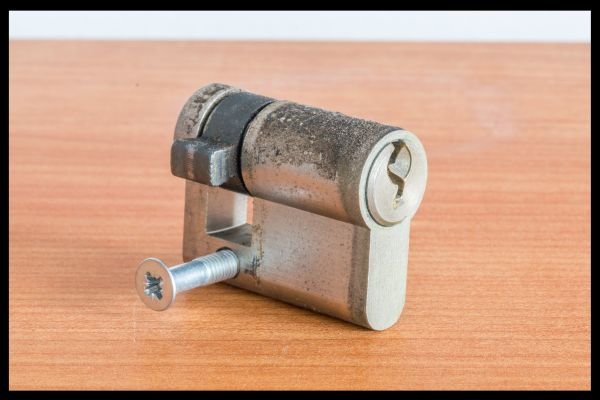
With the retaining screws removed, you can now extract the cylinder from the door. Depending on the type, this may require simply pulling the cylinder or using a specific extraction tool. Follow the manufacturer’s instructions carefully to avoid damaging the cylinder or the door.
Inspect and Clean the Door

Before installing a new one, take a moment to inspect and clean the door surface where the lock was installed. Remove any debris or buildup that may interfere with the proper functioning of the new one. Additionally, consider applying a lubricating spray to ensure smooth operation.
Install the New one
If you’re replacing the old one with a new one, now is the time to install the new mechanism. Follow the manufacturer’s instructions carefully to ensure proper installation and functionality. Be sure to secure the lock in place with the retaining screws and reattach the exterior and interior trims.
Conclusion

Removing a front door lock may seem like a daunting task, but with the right tools and know-how, it can be a straightforward process. By following the steps outlined in this guide, you can safely and effectively remove the security system., whether for replacement or maintenance purposes. Remember to take your time, follow the manufacturer’s instructions, and exercise caution throughout the process. With practice, you’ll become a pro at removing front door locks in no time.

